|
|
||||||||||||||
|
Self injection |
||||||||||||||
A number of cancer treatments involve the regular administration of drugs under the skin (subcutaneous injection). This is because the drug to be injected is a protein and would get broken down by the digestive system. This page gives advice from professionals and patients themselves on how to injection yourself. This advice also applies to family or carers who want to learn to give injections. Any injection is not a pleasant thought but learning how to inject oneself or someone you are caring for has some major benefits:
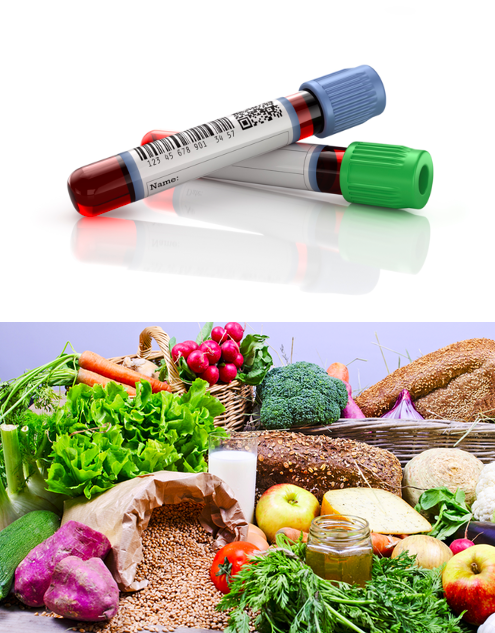
Which treatments require injection under the skin? Most patients requiring insulin in the UK have learnt to self inject but for cancer therapies the injections are usually only for short periods of time so it may not be worth learning in many cases. Certainly you should not regard yourself as failing if you don't want to do it or can't manage it. Treatments in oncology which involve subcutaneous injection include:-
How to self inject.
Before you start you prepare for the injection. On a clean flat surface have a your equipment ready. Many injection are supplied in a pack containing a prefilled syringe. Check the "use-by" date and ensure the contents are all present. Have a skin swab and "sharps box" ready. Wash hands. Ensure injection site is clean and dry. Hold the syringe like a pencil and remove needle guard. Pinch the skin where you are going to inject. Wipe the skin with an alcohol swab and allow to dry.
Draw back the plunger a little: if blood comes up into the syringe, you have touched a small blood vessel; remove the needle and syringe and throw away in sharps bin. Prepare a new injection, ensuring you inject into a new site; if no blood appears, slowly push plunger to inject solution. When syringe is empty, remove needle and syringe and press on site for at least one minute with a swab or cotton wool. Don't worry if it bleeds a little as that is normal. Put a plaster on the site if you wish. Put the needle and syringe into the sharps bin. When your sharps bin is half to two thirds full, shut and lock the lid and return it to your GP or clinic. Please do not over fill it. |
||||||||||||||
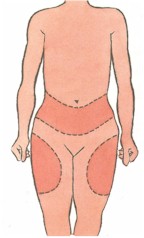 Choose a site The
best places to self inject are the front of your thigh or your abdomen (avoiding your
navel and waist) - see diagram. Try to use a different area each time, this reduces the
risk of skin reactions.
Choose a site The
best places to self inject are the front of your thigh or your abdomen (avoiding your
navel and waist) - see diagram. Try to use a different area each time, this reduces the
risk of skin reactions.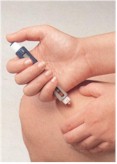 With the syringe
straight up or at a slight angle push it firmly and quickly into the pinched skin
With the syringe
straight up or at a slight angle push it firmly and quickly into the pinched skin